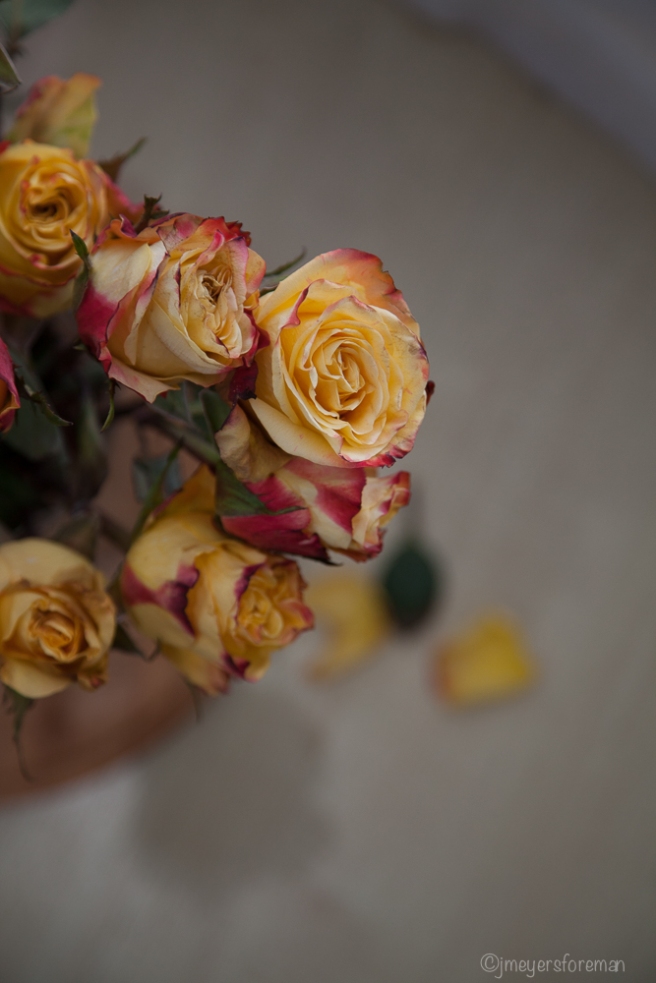
It’s Friday, and that means another After-Before Friday Blog Post, I am becoming a regular contributor to Stacy’s After-Before Friday Forum, were photographers share they photographs and their working process. For some, or at least me, it is an opportunity to read and learn some new Photoshop or Lightroom skills. The photographers who submit to Stacy’s forum range in skill level from novice to those with advanced skills. The one thing I have learned is there is more than one way to process an image, and personal style is more likely to affect the final results as software! Each photographer has a unique way of looking at the photos and deciding the final outcome and I never fail to learn something, mostly keep it simple!
I have been taking an on-line still-life course with Kim Klassen, she has provided the inspiration for this weeks post. The florist down the street had these beautiful roses for sale! Kim’s Friday blog is Friday Finds, it is all about the week and what she has found this week. I am going to give a shout out to her this week as well, as I have found her on-line course very inspiration, and I have used one of her Lightroom presets on the image. But let me start from the beginning. Above, the image I ended with, below, the image I started with…..

The work on this image was done in Lightroom, I love that, because I can go back through my history panel for details, it makes learning, and writing this blog post so much easier! First I cropped, that is pretty obvious. In the Basic Develop module I went to my auto button. I like to do this, sometimes Lightroom is right, and there is little to do after that.
For this image I also moved the Highlight slider to -24, then added a preset from Kim-Klassen called kk_truegrit. This preset does affect the exposure, contrast, whites and blacks as well as clarity. Presets are a good way to establish a style or a particular look if you want a cohesive look for a group of photos, and to automate your workflow.
Next I moved down to the Lens Correction Module to enable lens profile and remove chromatic aberrations, added a little post-crop vignette, and I was satisfied with the outcome.
Stacy’s After-Before Friday Forum has links to several great photographers and you can read more “how it was done” type posts, and Stacy usually has a video showing her workflow, if this interests you. I always learn a something from the contributors.
If still-life, textures and presets is something you want to learn more about head on over to Kim Klassen’s Cafe.
My Friday find: beautiful roses, and learning about presets and how to use them in Lightroom. I hope your week has been a good one, and you get to spend time being inspired this weekend.
Share your thoughts with us, in the comments box below,
remember to share with your friends if you think they might be interested.